So since my last post, I caulked all the remaining trouble spots (primarily the door and the new window), re-painted the paneling, and painted the door and trim twice.
I will probably stain the ramp with a deep brown oak color; the treated lumber sticks out against the otherwise finished exterior. I have to completely re-do the interior next, but I'm energized by my progress so far.
Soon I will be able to turn my full attention toward the area behind the shed.
Monday, July 20, 2015
Tuesday, July 7, 2015
The Shed Renovation Continues
I'm getting closer to completion with the shed facelift. Last weekend I was able to finish the meticulous sanding, scrape and bondo patch rotten siding spots, and caulk most of the shed. The caulking was performed after my initial coat of primer was brushed on all of the sanding marks, the eaves, the trim, the door frame and the door. I was also able to brush the door trim and the door with one coat of the final colors. The photo below was taken during the priming.
As you can see, this part was painstaking. Dad showed up in the middle of last week and did a really great job putting a top coat on the siding. He's still got it...played 18 (shot reasonably well; although the putter wasn't working), and then showed up for several hours of labor in the hot summer shade.
Greg dropped by last week and we popped in the new window and installed the trim. That's Greg behind the glass...it's hard to catch him in a photo.
So, this is currently what the shed looks like:
I was rehearsing with Hotel Lights in Richmond during the fourth of July weekend; otherwise I might have repainted the siding. I have to run down to Carolina Beach on Thursday as Tonk is taking over the Tiki Bar on Dave's Pier. This week I'll be chasing Emmett around the yard. Looks like the final photos will have to wait for a few days.
So, this is currently what the shed looks like:
I was rehearsing with Hotel Lights in Richmond during the fourth of July weekend; otherwise I might have repainted the siding. I have to run down to Carolina Beach on Thursday as Tonk is taking over the Tiki Bar on Dave's Pier. This week I'll be chasing Emmett around the yard. Looks like the final photos will have to wait for a few days.
Wednesday, June 17, 2015
Loose Ends and the Shed Project
Tracy was a proud new homeowner when this was taken in 2010. Here's a shot of our Grand Avenue home today.
back yard:
As you can see, the shed needs a paint job. The fresh mulch project was instigated in part by the necessity to protect the new paint on the shed from mud splatter. The area behind the shed had been overgrown for so long, ivy covered more than half of the siding. When Andy Podhany took out some of the fencing, removed the dog house and a few small trees; he also went after the ivy. As I removed the dead ivy from the siding, I realized that each vine left a fossil-like impression that was very difficult to scrape off.
Here's a snapshot of the north side...before
and after...
Oof. I used a drill with a wire-brush bit to sand the vine remnants away. It was one of those north carolina june days in the humid mid-nineties, and I was covered in paint chips and sunscreen. I followed behind the drill with an orbital sander. It took all day to get around the exterior, and I still have about three feet remaining on the back wall.
To my dear friend Ray Jones, who is probably the only human that actually looks at this blog, I offer this as a small apology for my lack of blogging:
I know that you were anxiously awaiting the completed kitchen nook photos, Ray... even though you saw it in person before the blog post. We've been a little too busy to blog for the past seventeen months, and it's because we have a new roommate in our Grand Avenue home:
Emmett Josiah Brown, born 1/5/14. He's generally an agreeable fellow; drinks 1.5 gallons of milk a week and doesn't pay rent. Ha Ha. We're going to keep him.
Thursday, June 11, 2015
Our Shed
Wow...has it really been two years? I believe that our last post was related to the kitchen nook...it turned out great. Ha Ha.
Since then, I cleaned/restored/painted all the exterior windows and cleaned/painted the base of our home. The place really looks great now. We had three huge sweet gum trees removed from the back yard.
Unfortunately, we could now see this clearly...
Yeah. I think that the open covered area was constructed as a golf cart garage years ago. We do not have a golf cart. The 'garage' just contained yard waste cans, old buckets, and a section of chain-link fencing.
The fence is still up around the perimeter of a previously claimed area behind the shed. The gate was here on this weed-overgrown corner; and it served as the entrance to a huge dog pen. Recently we cleared this area and removed the dog house, some small trees, and an incredible amount of ivy.
The shed is really useful; so we decided to give the old thing a facelift. Step one: get rid of the golf cart garage. It only took about two hours for my friend Greg Readling and me to remove the aged appendage. Looks better already, doesn't it?
Greg thought that tin would look great; and Tracy and I agreed. So...
As you've probably noted from early shed photos, the roof had a slight bow that went from 1/2" on the edges to 3/4" near the center (both sides). A purlin frame was constructed out of the 1" X 6" treated boards shown above (this creates airflow below the tin and keeps the shingles and plywood from rotting due to excessive moisture). It also allowed us to shim up the purlin frame to create a roof line that seems more level to the eye. Shown below is just the center frame-we cut more boards and continued the frame until we had a 5" overhang on each side (front to back). I also ripped up that yucky old spider plant bed (surrounded by house brick) across the front and left side.
Then we ran the tin! Well...first Greg replaced this trim board; which had rotted somewhat.
This photo shows the northern edge.
Ok. Step three: door and footing. Not much to say here...Greg did it again. The door is made out of pine and the ramp is constructed of durable treated lumber.
The fascia board above the entranceway had to be altered slightly (the new door was perfectly square and the opening wasn't). Carpenter bees had nested in the board!
I love barn hardware...and I think the exterior hinges are sweet looking. Leave it to Greg to make some smart choices.
I've been scraping, sanding, brushing...and repeating. It's going to take some effort to get all of the dead ivy fossils off of the building. Stay riveted...I might post about the beginning of another project in two years-and forget to show you the end of this one!
Wow...has it really been two years? I believe that our last post was related to the kitchen nook...it turned out great. Ha Ha.
Since then, I cleaned/restored/painted all the exterior windows and cleaned/painted the base of our home. The place really looks great now. We had three huge sweet gum trees removed from the back yard.
Unfortunately, we could now see this clearly...
Yeah. I think that the open covered area was constructed as a golf cart garage years ago. We do not have a golf cart. The 'garage' just contained yard waste cans, old buckets, and a section of chain-link fencing.
The fence is still up around the perimeter of a previously claimed area behind the shed. The gate was here on this weed-overgrown corner; and it served as the entrance to a huge dog pen. Recently we cleared this area and removed the dog house, some small trees, and an incredible amount of ivy.
The shed is really useful; so we decided to give the old thing a facelift. Step one: get rid of the golf cart garage. It only took about two hours for my friend Greg Readling and me to remove the aged appendage. Looks better already, doesn't it?
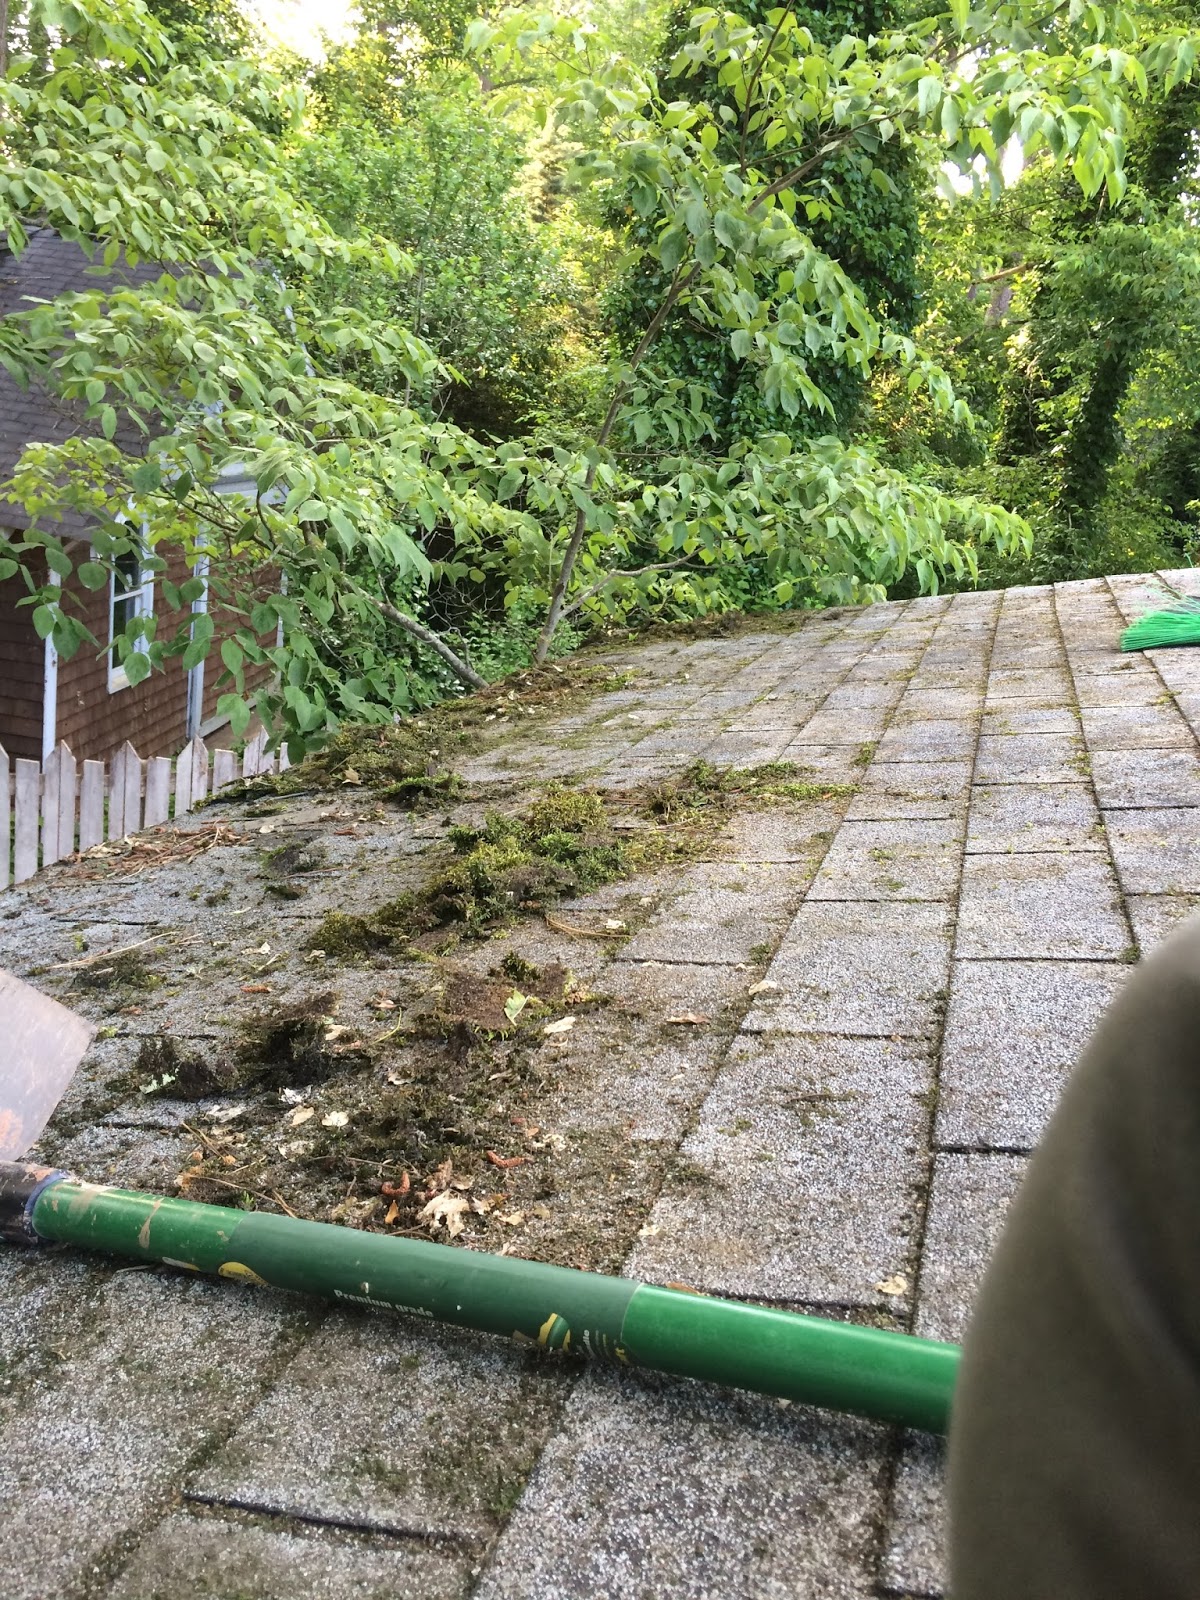
Step two: spruce up the ugly roof. Yipes...and yes, I used a hoe to remove the moss from the shingles. Then I swept it all away.
As you've probably noted from early shed photos, the roof had a slight bow that went from 1/2" on the edges to 3/4" near the center (both sides). A purlin frame was constructed out of the 1" X 6" treated boards shown above (this creates airflow below the tin and keeps the shingles and plywood from rotting due to excessive moisture). It also allowed us to shim up the purlin frame to create a roof line that seems more level to the eye. Shown below is just the center frame-we cut more boards and continued the frame until we had a 5" overhang on each side (front to back). I also ripped up that yucky old spider plant bed (surrounded by house brick) across the front and left side.
Then we ran the tin! Well...first Greg replaced this trim board; which had rotted somewhat.
This photo shows the northern edge.
Ok. Step three: door and footing. Not much to say here...Greg did it again. The door is made out of pine and the ramp is constructed of durable treated lumber.
The fascia board above the entranceway had to be altered slightly (the new door was perfectly square and the opening wasn't). Carpenter bees had nested in the board!
I love barn hardware...and I think the exterior hinges are sweet looking. Leave it to Greg to make some smart choices.
I've been scraping, sanding, brushing...and repeating. It's going to take some effort to get all of the dead ivy fossils off of the building. Stay riveted...I might post about the beginning of another project in two years-and forget to show you the end of this one!
Tuesday, February 12, 2013
The nook installation continues...
Friday, February 8, 2013
Shep!
![]() |
| Primed and Ready |
His attempts to keep Miles at bay were futile, apparently. When his texts arrived I was watching the snow fall thickly outside the gig in Chicago.
Thanks for the great work, Shepherd, and for keeping Miles out of the paint cup.
Thursday, February 7, 2013
Nook Installation
![]() |
| The Nook |
![]() |
| Small bench support frame |
![]() |
| View from the island |
Greg has put the foundation of our nook in place. As you can see in these photos, our neighbor and contractor Steve Smalto moved the power outlet and light fixture to more appropriate locations. My buddy and band mate Shepherd Lane will paint this under carriage today with a white semi-gloss paint. Our poor kitty Miles will probably have to be locked in the laundry room.
Sunday, January 27, 2013
Imagine a Nook
![]() |
| Nook Layout |
Note that the small rectangle closest to the island stools denotes cabinet space on the back of the two-seater bench; which is represented by the slightly larger rectangle. The table will be a soft trapezoid with rounded edges. The farthest rectangle represents a three-person bench.
We've made preliminary wood choices for both the bench slats, table, and cabinet top.
Now we have to move one electrical outlet and, of course, the nefarious head-bashing fixture.
![]() |
| Our kitchen as it existed this morning. |
These problems arose when we decided to install a full-size island, as it changed the dimensions of our remaining floor plan. Our table just doesn't work and, while we like it, we never use it.
So I took the table apart today and put it in the attic. I will sell it for a very agreeable price, if someone is willing to make an offer.
Tuesday, June 7, 2011
Grand Avenue Update
Greg completed the construction of our fine kitchen island weeks ago. The finish work, which included the painting of the exterior and staining of the interior drawers, was stalled when I broke my ankle. Our living room was a disaster for a while.
Slowly I was able to hobble through the process. I also used the extra time at home to put another coat of paint on our mantle, as well as multiple coats of polyurethane on the cedar mantle top.
Spring came and went. As I was finally able to resume yard work, I noticed that we have over seven wonderful azaleas strategically surrounding the lawn.
I also painted the bathroom a cool, ice-cube gray. Tracy and I never truly fell in love with our original color choice, which was in the mint family. We've already purchased towel racks and other bathroom fixtures, which will soon be in place.
Homero Cruz and his son, Sam, did a wonderful job of cleaning and waxing the vinyl composite tile flooring in the kitchen and laundry room. After the process was complete and my ankle finally felt strong enough, Greg and I put the island in the kitchen. Greg sanded the top of the island again, and I began the process of finishing both sides of the maple top. I applied three coats of satin poly (sanding between coats) on the under side. Brad of Home Quest was kind enough to step over and help me flip the top (thanks, Brad!). This photo was taken with the fifth coat still wet on the top side (Am I obsessive? I don't want to stop applying coats yet-it's fun.).
Saturday, February 5, 2011
Yes
I don't know who's more relieved: the fine folks at Home Quest, our other sweet neighbors, the dudes who walk around the block all day with various canines, passing traffic after events at the RBC/Carter-Finley, or simply the two of us. We finally have blinds.
Sunday, January 30, 2011
Kitchen Island
I hope that everyone is having a great Eleven so far. Things have been relatively quiet at 301 Grand Avenue. We are slowly finding a place for all of our things.
Today my good friend Greg Readling began work on our kitchen island. The top of the island consists of resilient maple strips, which we glued and pressed together today. I also played with Greg and Lorraine's new daughter Rain, and photographed the chickens. It was a wonderful afternoon.
![]() |
| I'm really excited about this already. |
![]() |
| Look at those eyes! |
![]() |
| This particular chicken is really photogenic and fairly sassy. I guess I would have an attitude, too, if I lived in a coop with a slate roof. |
Subscribe to:
Posts (Atom)